Choose a pot and mix that suit the roots.
Repotting can help a crowded plant, but it is not a cure for every yellow leaf. Start with the plant’s condition and the way its pot drains. Then choose materials and a method suited to the species.
1. Decide whether repotting will help
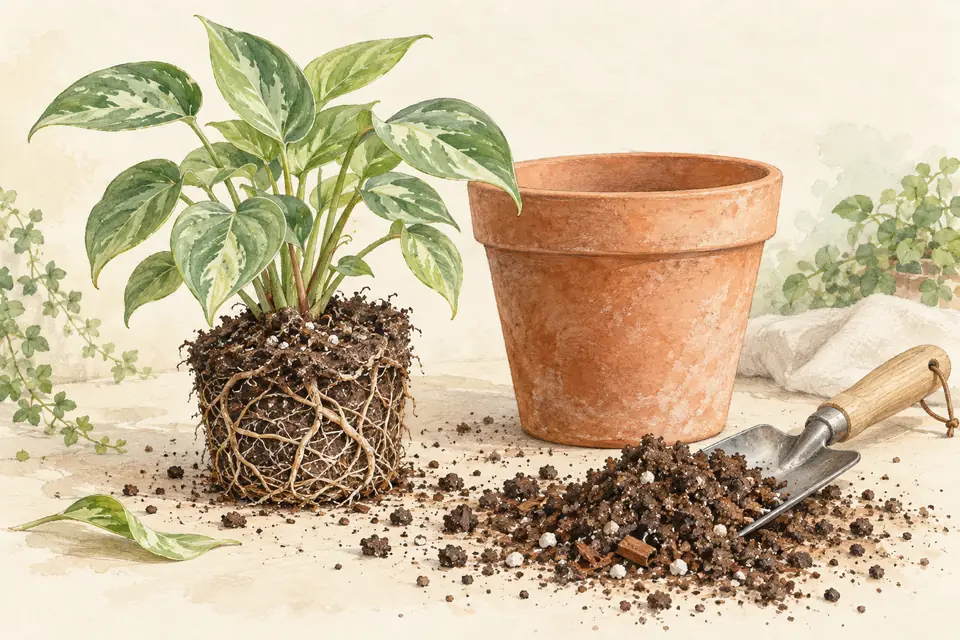
Roots filling the pot, a dense mat circling the root ball, or a mix that has slumped and drains poorly can justify a closer inspection. A few roots at a drainage hole do not, by themselves, tell you how crowded the whole pot is.
Check moisture, drainage holes, light, and recent watering first. Fast drying may reflect warm conditions as well as root crowding. Water running straight through may leave a dry core; it does not always mean the pot is too small.
For routine repotting, the start of active growth is often a useful time. The interval depends on growth rate, species, pot size, and mix condition. A plant with a serious drainage problem may need attention sooner.
To see the roots, water the plant the day before. Then tip the pot on its side and slide the root ball out. A root-bound plant has roots that circle the inside of the pot and hide most of the potting mix. If you still see plenty of potting mix and only a few roots, put the plant back.
2. Choose the pot and growing medium
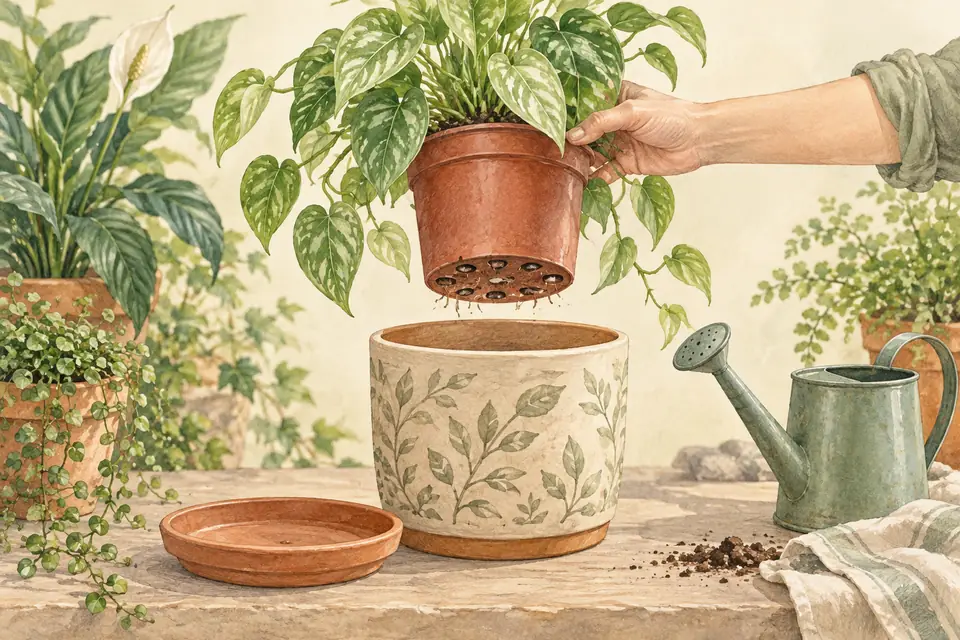
Use a container with unobstructed drainage holes. If it sits inside a decorative cover pot, leave room to remove it for watering and empty any collected water. A layer of stones cannot replace an outlet for excess water.
When more root space is needed, move up modestly rather than choosing a much larger pot. Fresh mix around a small root system can stay wet longer than expected. Refreshing the mix in the same pot can be appropriate when extra space is unnecessary.
For most houseplants, a new pot 2 to 5 cm wider than the old one is enough. A large floor plant can go up a little more.
| Before choosing a mix | Useful question |
|---|---|
| Plant requirements | Does this species need a general houseplant mix or a specialist medium, such as orchid bark? |
| Ingredients and texture | How does this product retain water and drain in your pot? Ingredient names alone do not establish its performance. |
| Added nutrients | Does the bag already contain fertilizer, and how long does the manufacturer say it lasts? |
| Your conditions | How quickly does the mix dry in your light, temperature, and container? |
A suitable ready-made potting mix is a reasonable starting point. Do not add lime or fertilizer automatically. Follow the product label and the plant’s requirements; changing ingredients changes both moisture behavior and nutrient supply.
What common ingredients do
| Ingredient | What it does | What to watch |
|---|---|---|
| Peat or coco coir | Holds water and gives an even, light texture. | Very dry peat can shed water at first. Coir can contain salts, so choose a washed product. |
| Perlite | Adds air spaces and drainage. It is light and white. | It floats to the surface after watering. Dampen it before mixing to reduce dust. |
| Pumice | Adds air spaces like perlite, but it is heavier and does not float. | Useful for succulents and for tall plants that tip over. |
| Pine or orchid bark | Coarse pieces keep the mix open around the roots. | Bark breaks down over time, and the mix then packs down. |
| Compost | Adds some nutrients and holds water. | A large share makes a heavy mix. Keep it a small part of a houseplant mix. |
| Garden soil | Not recommended in pots. | It packs down, drains poorly, and can carry pests, weed seeds, and diseases. |
Choose the pot material
| Material | How it behaves | Good for |
|---|---|---|
| Plastic | Light and cheap. It keeps the potting mix moist for longer. | Plants that like evenly moist potting mix, such as ferns and calatheas. |
| Unglazed terracotta | Porous. It draws water and salts out of the potting mix, so the mix dries faster. | Succulents, cacti, and plants that rot easily. |
| Glazed ceramic | Holds moisture like plastic, but it is heavy and stable. | Tall or top-heavy plants, if it has a drainage hole. |
| Cover pot | Usually has no drainage hole. | Decoration only. Keep the plant in a draining pot inside it. |
Explore the soil mix calculator
The calculator gives example proportions and batch quantities. It does not test the finished mix’s pH, drainage, or suitability for your plant.
Choosing a potting mix for Monstera
Start with a well-drained mix and a pot with open drainage holes. Compare how the mix dries in your home before adding ingredients. A coarse ingredient can change the structure, but a recipe alone cannot tell you how the finished pot will behave.
The batch calculator converts example ratios into ingredient volumes. Use it to prepare a chosen batch, then record drying and drainage observations. It does not establish that the example is the best mix for your Monstera.
3. Move the plant with care
- Prepare a clean pot, fresh suitable mix, and a protected work surface. Follow handling instructions on the potting-mix bag and wash your hands afterward.
- Support the root ball and ease it out of the container without pulling hard on the stem. Loosen the pot or seek help if the plant is heavy or firmly stuck.
- Inspect the outside of the root ball. Gently loosen crowded outer roots where appropriate. Do not routinely wash off all the mix or cut healthy roots; substantial root pruning needs species-specific guidance.
- Set the plant at its previous planting depth, leaving space below the rim for watering. Fill around the roots and settle the mix gently without crushing it or burying the stem.
Soft, collapsing roots or an unusual smell deserve attention, but root color alone does not diagnose rot. Avoid chemical baths based only on appearance. Ask a knowledgeable grower or plant clinic when the cause is unclear.
4. Adjust aftercare to the plant
Many leafy houseplants are watered after repotting to settle the mix, then allowed to drain. Succulents with damaged roots and plants requiring specialist media may need different care. Check the species guidance before applying one routine to every plant.
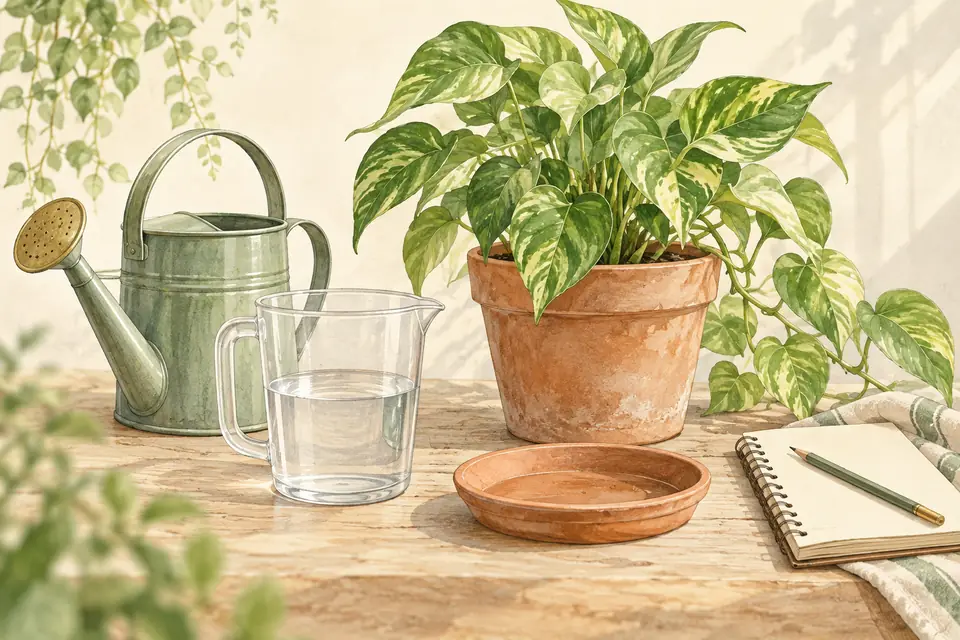
Keep growing conditions stable and avoid a sudden move into intense sun. Check moisture in the new mix before watering again. Repotting changes how the pot holds water, so the previous schedule may no longer fit.
Check whether the new mix contains nutrients before feeding. Follow its label and wait for an appropriate stage of growth rather than applying extra fertilizer to force recovery. Record the repotting date and watch new growth over the following weeks.
5. A worked example: repotting a crowded pothos
A pothos (Epipremnum aureum) in a 12 cm plastic pot dries out two days after watering in April. Roots grow out of the drainage holes, and the pot tips over easily.
- Water the plant the day before, so the root ball slides out more easily.
- Slide the root ball out. Roots circle the bottom of the pot, and little potting mix is visible.
- Choose a 15 cm plastic pot with drainage holes, and a general houseplant potting mix.
- Add enough potting mix to the base so the top of the root ball sits about 2 cm below the rim.
- Tease the circling roots outward with your fingers. Do not cut healthy roots.
- Fill the gap with potting mix, and tap the pot on the table to settle it.
- Water until it drains from the holes. Let the pot drain fully before you put it back in its cover pot.
- Water next time only when the top 2 to 3 cm of potting mix feel dry.
Expect a short pause in growth while the roots grow into the new potting mix. Mild drooping for a day or two is common. Steady wilting in wet potting mix is not, so check drainage and the roots.
6. Common mistakes, and why they happen
| Mistake | Why it happens | What to do instead |
|---|---|---|
| Choosing a much larger pot | It seems to save a future repot. | Move up one size. Extra potting mix stays wet around a small root system. |
| Adding gravel under the potting mix | It looks like drainage. | Use drainage holes. Gravel raises the wet zone closer to the roots. |
| Using garden soil | It is free and close at hand. | Use a potting mix made for containers. |
| Planting deeper than before | It seems to steady a tall plant. | Keep the same depth and use a stake. A buried stem can rot. |
| Pressing the potting mix down hard | It makes the plant feel firm. | Tap the pot and water it in. Hard pressing squeezes out the air roots need. |
| Repotting to cure an unknown problem | It feels like a fresh start. | Find the cause first. Repotting adds stress unless the roots sit in rotting or waterlogged potting mix. |
7. Seasonal notes for hot summers and mild, wet winters
In a Mediterranean climate such as Lebanon’s, spring is usually the best time to repot, because growth is picking up. Avoid repotting during a summer heat wave when you can. Roots recover more slowly in a hot pot, and fresh potting mix dries fast.
Unglazed terracotta on a sunny balcony can dry out within a day or two in midsummer. Group pots together or move them into light shade during the hottest weeks.
In a mild, wet winter, outdoor pots can stand in rainwater. Raise them on pot feet so the drainage holes stay clear, and empty saucers after rain. Indoors, a plant repotted in winter grows slowly, so fresh potting mix stays wet longer. Water it sparingly until growth resumes.
Frequently Asked Questions
Answers to common questions about plant care and this tool.
Related plant guides and tools
View all guides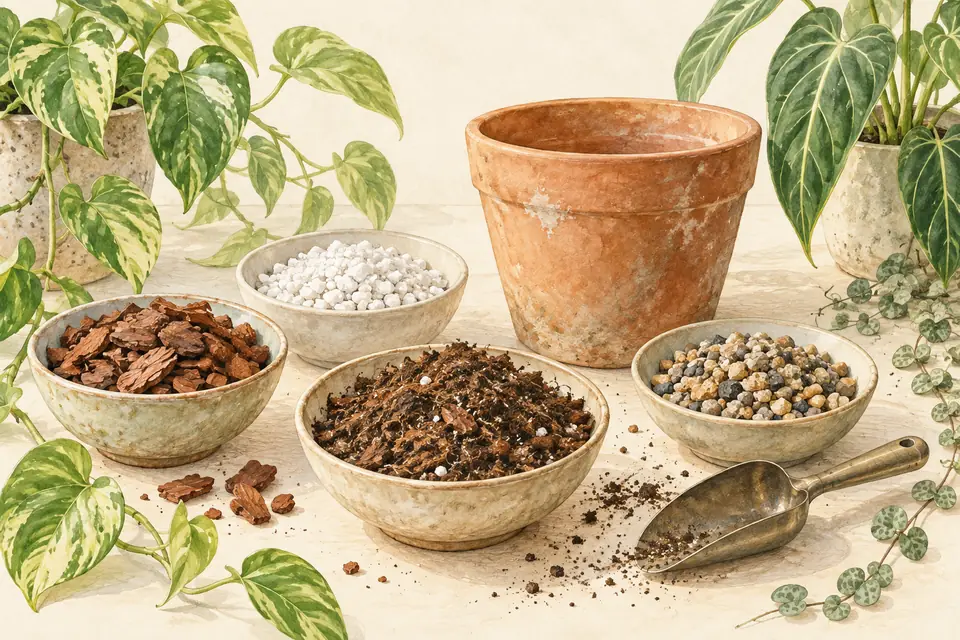
Further reading and references
- How to repot a plant — Royal Horticultural Society Practical guidance on crowded roots, pot size, refreshing compost, and repotting. Check individual plant requirements as well. [Source ]
- Repotting Houseplants — Penn State Extension Choosing a slightly larger container, how plastic and unglazed clay pots differ, and why cover pots need a draining pot inside. [Source ]